If your USB devices randomly disconnect, your HDMI display flickers, or your charging cable only works at a certain angle, there’s a good chance your ports are dirty—not broken. Dust, lint, pet hair, and debris build up inside ports over time, causing poor contact and unstable connections. The good news? You can safely clean them at home with just a few basic tools.
Below is a complete guide on how to clean USB‑A, USB‑C, HDMI, audio jacks, and more—without damaging delicate internal pins.
Why Ports Get Dirty
Computer ports act like tiny vacuum cleaners. Dust, lint from pockets or backpacks, crumbs, and even pet hair get pushed inside every time you plug in a cable. Over time, this buildup causes:
- Loose or unstable connections
- Charging failures
- Poor video output or no HDMI signal
- Overheating from blocked contacts
Modern ports—especially USB‑C—have extremely fine pins that can bend easily, so proper cleaning is essential.
Tools You’ll Need
These simple tools cover all port types:
- Compressed air or a dust blower
- Soft‑bristle brush (small toothbrush works)
- Wooden toothpick or plastic dental pick
- Microfiber cloth
- 90%+ isopropyl alcohol
- Flashlight
Avoid metal tools, blowing with your mouth, or spraying liquids directly into ports.
How to Clean Each Type of Port
1. USB‑A & USB‑C Ports
USB ports collect lint easily, especially on laptops and desktops.
Step‑by‑Step
- Inspect the port Shine a flashlight inside to check for lint or large debris.
- Blow out loose dust Use compressed air at an angle so debris can escape. Never blow with your mouth—moisture can damage contacts.
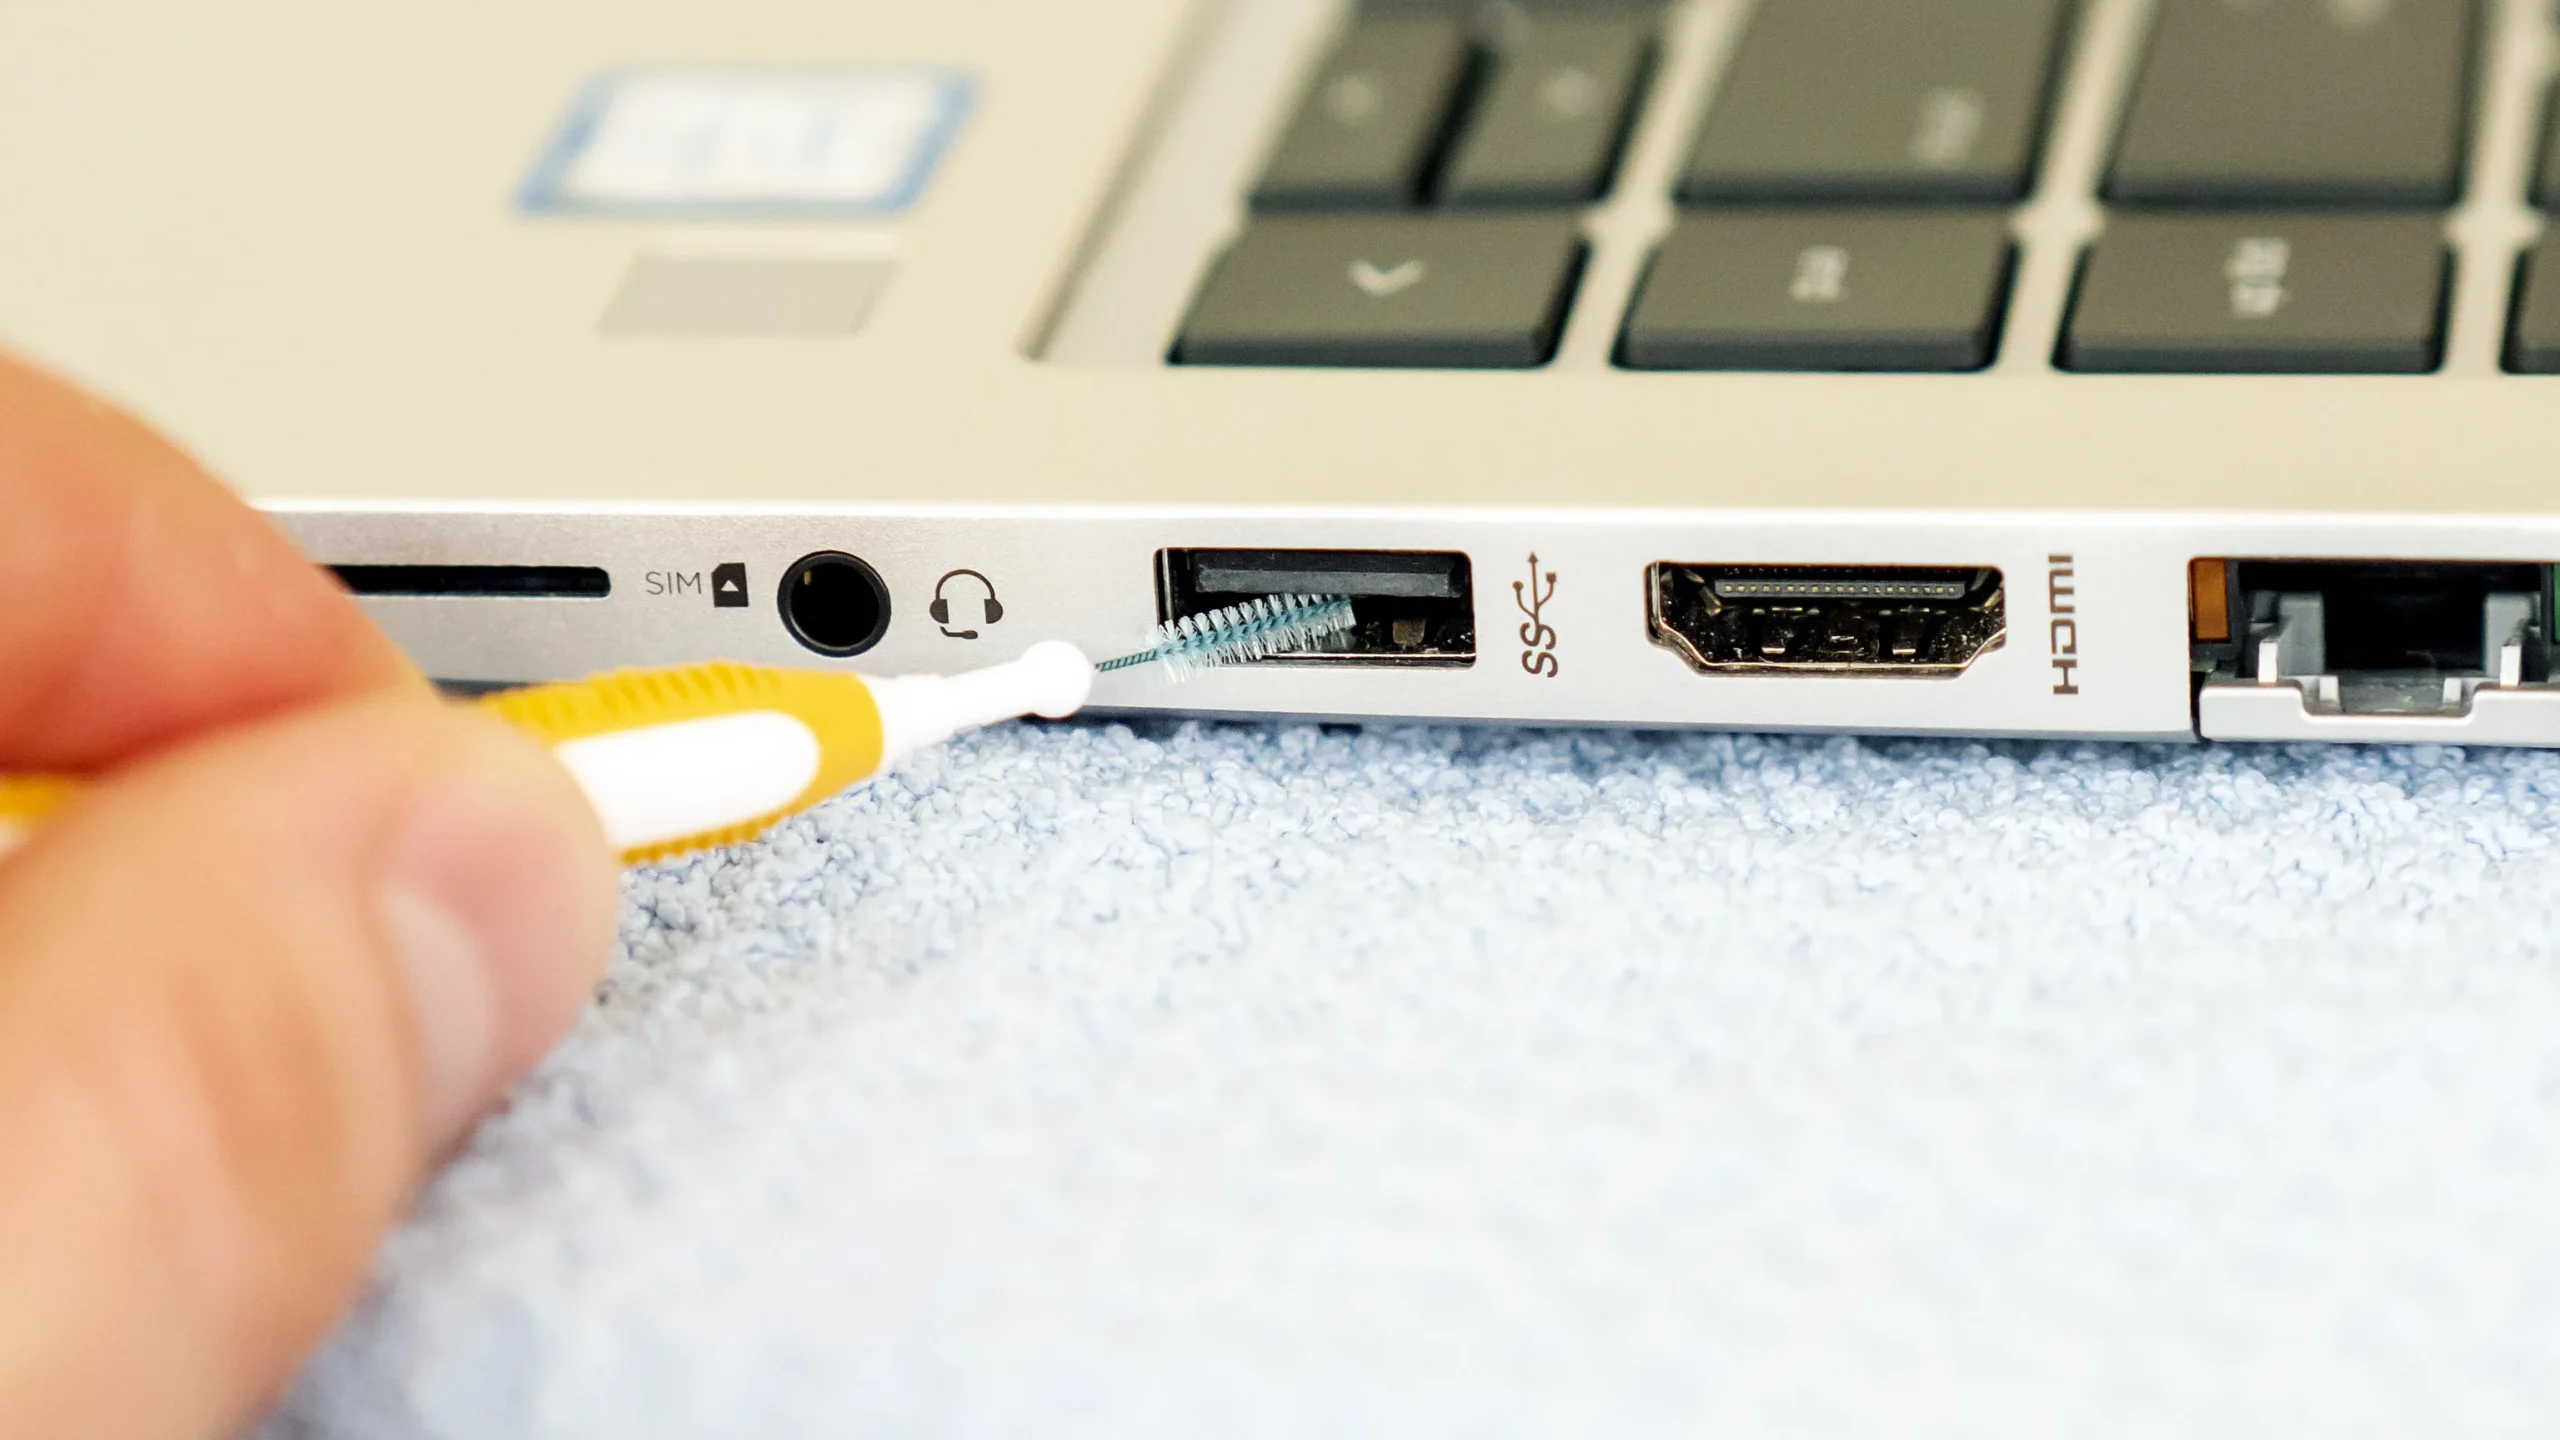
- Brush gently Insert a soft brush and rotate lightly to break up compacted dirt.
- Remove stubborn debris Use a wooden toothpick or plastic pick to gently lift out lint (never metal).
- Alcohol cleaning (optional) Lightly dampen a flat cotton swab with isopropyl alcohol and wipe the contact surfaces. Let dry fully before use.
2. HDMI Ports
HDMI ports are deeper and often collect dust that interferes with video signals.
Step‑by‑Step
- Power off and unplug everything Prevents shorts and protects the device.
- Blow out dust Use compressed air to clear loose particles.
- Brush the inside Use a soft brush to loosen debris without touching pins aggressively.
- Remove stuck lint Use a wooden toothpick to gently scrape the bottom edges.
- Alcohol cleaning (if needed) Use a microfiber cloth or swab with isopropyl alcohol to remove sticky grime. Let dry completely.
3. Audio Jacks, Ethernet, Charging Ports & More
Most follow the same safe cleaning pattern:
- Inspect
- Blow out dust
- Brush
- Remove debris with plastic tools
- Light alcohol cleaning if necessary
Avoid cotton swabs inside narrow jacks unless they’re flattened—loose fibers can get stuck.
What NOT to Do
To avoid permanent damage:
- Never use metal tools (paperclips, needles, SIM ejectors). They can bend pins or scratch contacts.
- Don’t spray liquids directly into ports
- Don’t force cables into dirty ports
- Don’t use high‑pressure air too close—it can damage delicate connectors
How to Keep Ports Clean Longer
- Use dust plugs for unused ports
- Keep your PC in a low‑dust environment
- Avoid eating near your laptop
- Clean ports every few months as routine maintenance